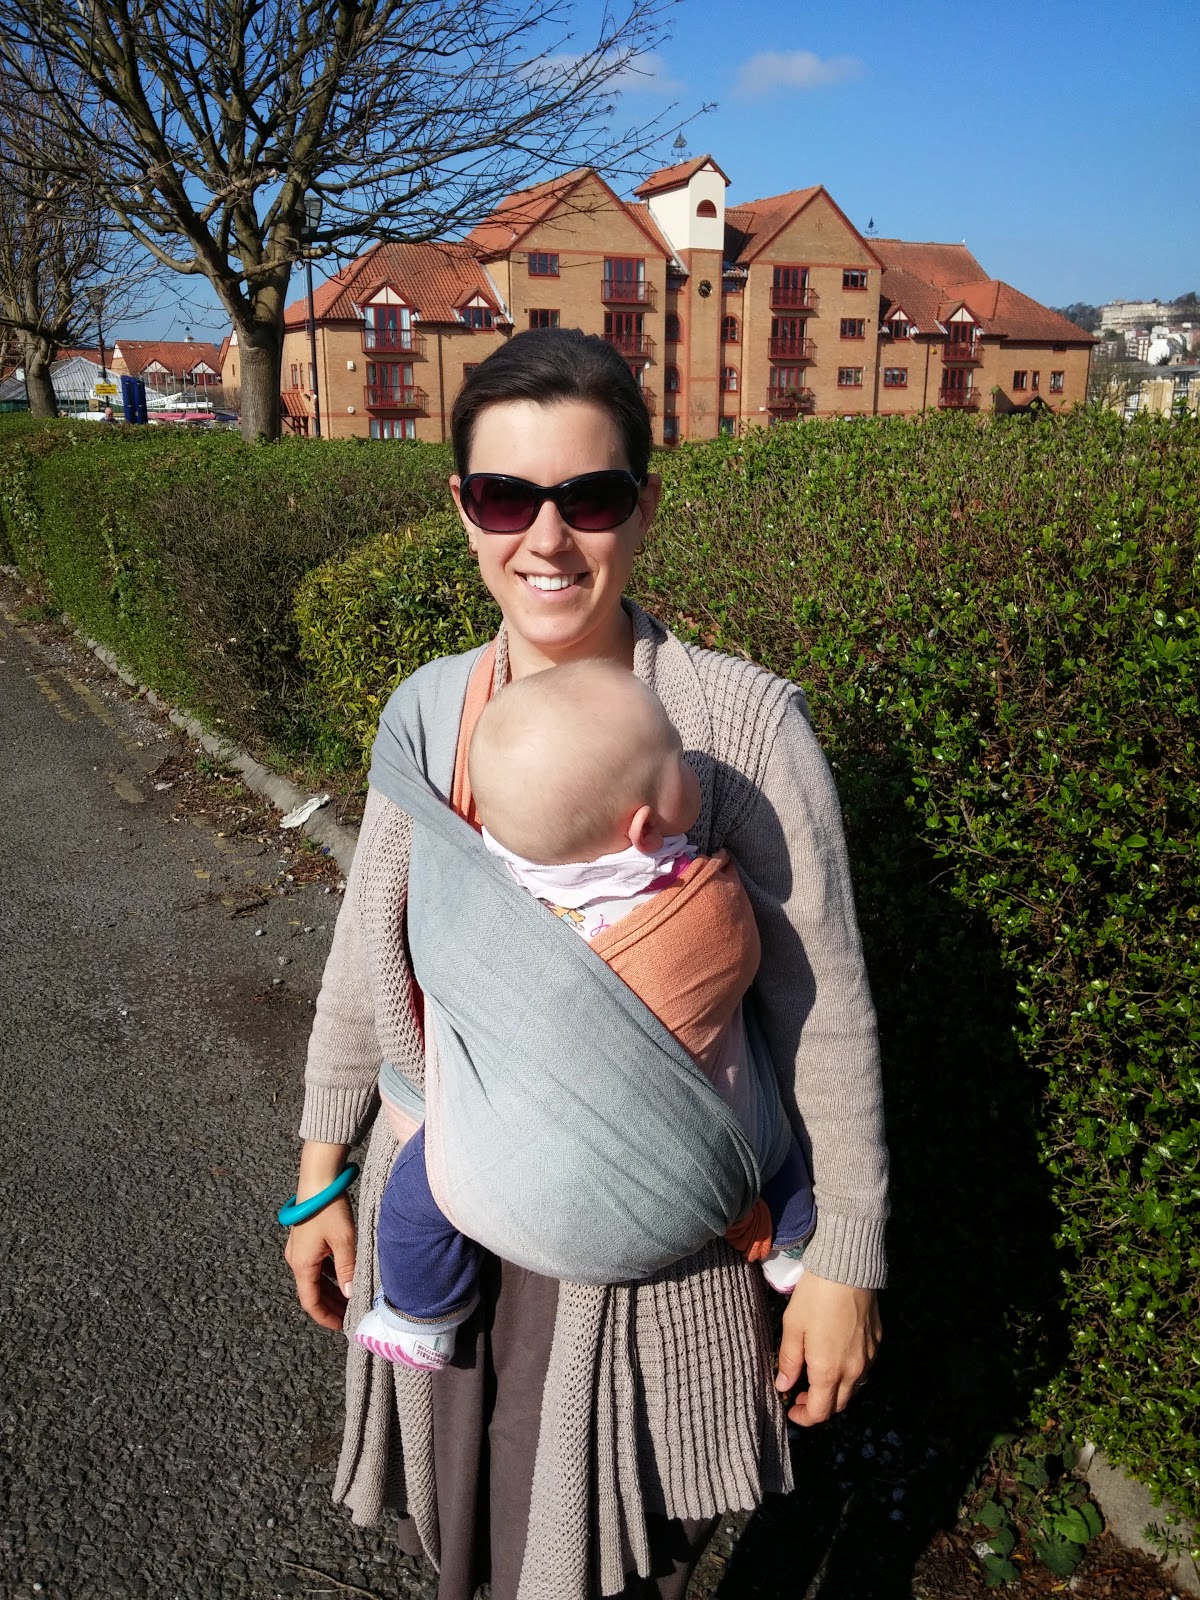
Simple Hip Cross Carry: a photo tutorial
 |
| Hip Cross Carry |
This makes it great for toddlers, who can't make up their mind if they want to be carried or not; it's great for short walks to the car - basically anywhere that you need to take baby out without having to tie again.
No one ever seems to suggest this carry when people ask, and I think that's because all the videos I've seen so far make it look really complicated to do. But it's not! So I've taken a few photos to walk you through how it's done, I hope you'll agree it's super easy.
I'm using a size 3 here. If you use a 4 you'll have some hanging tails. As you make the knot in advance, you'll get to know after a while how much tail you need.
Let's get started! It's so simple....
Step 1: Make a knot.
So to start with, you just make a double knot towards the end of your wrap, creating a loop.
Step 2: hula hoop.
Put the wrap around your waist, holding it out away from you. The knot should sit at your waist, the same side of your body that you want the shoulder of the wrap to sit.
Step 3: cross over.
Now you're creating a figure 8 by crossing the wrap over itself. The front should cross over the back.
Step 4: Arm & head come through the loop
The loop you've created is where your arm and head go through.
You're done! You can wear your wrap like this all day.
But, I hear you ask, where does the baby go? I'll show you...
Have fun!


Comments
Post a Comment